
TL;DR (Quick Summary)
Hostinger’s hPanel is a modern, beginner-friendly control panel built to simplify website management. Compared to cPanel, it offers a cleaner interface, easier navigation, and quick access to essential tools like WordPress installation, backups, DNS, email, SSL, and performance settings.
If you’re new to hosting or switching from another provider, hPanel makes everything straightforward — even if you have zero technical experience.
👉 Start with Hostinger + hPanel here:
https://hostinger.com/?REFERRALCODE=ZMGroup25
✅ What Is Hostinger hPanel?
Hostinger developed hPanel as a fast, easy-to-use alternative to cPanel. It includes:
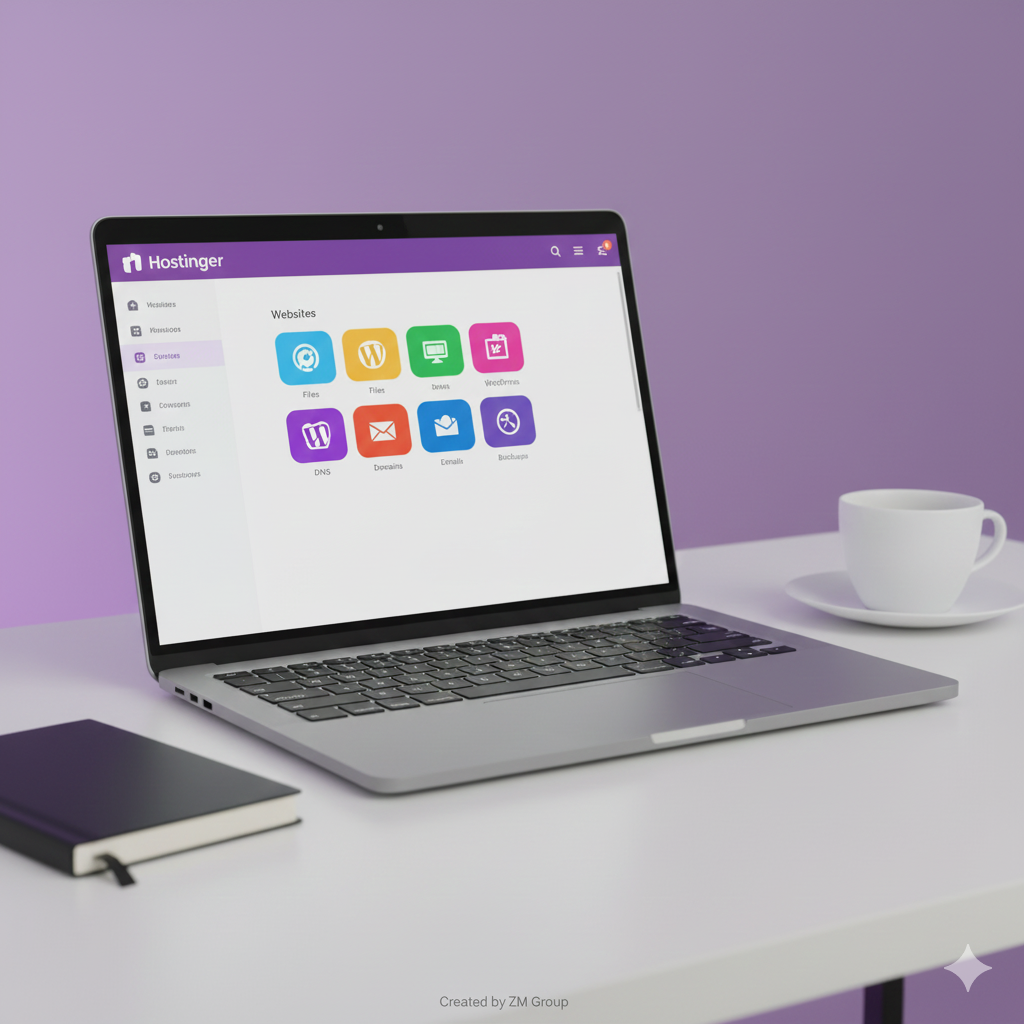
- A clean, icon-based dashboard
- One-click WordPress tools
- Email hosting management
- DNS Zone editor
- File Manager
- SSL activation
- Domain tools
- Advanced settings (PHP, MySQL, Cron Jobs, Cache)
Because Hostinger fully controls hPanel, it gets frequent updates, better optimization, and seamless integration with their hosting services.
🟪 How to Log in to hPanel
- Visit Hostinger.com
- Click Log In
- Enter your email + password
- You’ll see the main hPanel dashboard with all your services
The main menu includes:
- Websites
- Files
- WordPress
- Domains
- Emails
- Databases
- Security
- Advanced
Each section is designed for beginners while still providing advanced tools for developers.
🟦 Websites: Your Main Dashboard
After clicking Websites → Manage, you’ll find:
✔ Website Overview
Quick access to SSL, performance tools, WordPress admin, and backups.
✔ Auto Installer
Install WordPress, WooCommerce, or other apps in one click.
✔ File Manager
Upload, edit, and delete files directly from the browser.
✔ Backups
Create manual backups and restore previous versions.
✔ Performance Tools
Manage PHP version, caching, and resource usage.
👉 Claim Hostinger’s Best Deal (Limited-Time Offer):
👉 Want hPanel with one-click WordPress setup?
🟧 Files Section: File Manager & Backups
✔ File Manager
Gives full control over your website files. Edit code, upload themes, manage folders.
✔ Backups
Restore or download backups easily. Ideal before major changes.
✔ FTP Accounts
Create FTP logins for developers or external tools.
Pro Tip:
Always generate a backup before plugin/theme updates.
🟨 WordPress Section: Everything in One Place
If your site uses WordPress, this section becomes incredibly useful:
- View core version
- Manage themes & plugins
- Enable auto-updates
- Launch staging sites (on supported plans)
- One-click login to wp-admin
- Security recommendations
- Performance improvements
Time-saving trick:
Use the “Edit Website” button to jump into wp-admin instantly.
🟩 Domains & DNS Management
The Domains and DNS Zone sections allow you to:
- Change nameservers
- Edit A, CNAME, MX, TXT records
- Set up email authentication (SPF, DKIM, DMARC)
- Configure redirects
- Add subdomains
This is essential for:
- Email setup
- Google Search Console verification
- CDN connection
- Third-party integrations
🟫 Email Hosting Inside hPanel
With Hostinger, you can create professional business emails like:
you@yourdomain.com
Inside Emails, you can:
- Create mailboxes
- Setup aliases & forwarding
- Access Webmail
- Find IMAP/SMTP settings for Gmail/Outlook
- Add spam filters
- Manage storage
DNS Tip
Make sure MX, SPF, DKIM, DMARC are correctly configured to improve email deliverability.
🟥 Databases & phpMyAdmin
In the Databases section:
- Create MySQL databases
- Access phpMyAdmin
- Import/export tables
- Run SQL commands
Even beginners can use this area for tasks like resetting WordPress passwords.
🔵 Security & Advanced Settings
This includes:
- SSL Certificate activation
- IP Blocker
- SSH access (specific plans)
- PHP version switch
- Cron Jobs
- File permissions
- Activity logs
These tools help maintain website security and performance.
🟣 hPanel vs cPanel: Why hPanel Is Better for Beginners
| Feature | hPanel | cPanel |
|---|---|---|
| Beginner Friendly | ⭐⭐⭐⭐⭐ | ⭐⭐ |
| Interface | Modern, clean | Outdated, dense |
| WordPress Tools | Integrated | Requires plugins |
| Backups | One-click | Multi-step |
| DNS | Simplified | Technical |
| Speed | Fast (LiteSpeed optimized) | Depends on host |
For 99% of users, hPanel is easier and faster.
⭐ Tips & Tricks for Using hPanel Efficiently
✔ Pin frequently used sections
Bookmark File Manager, Backups, WordPress Overview, and DNS Zone.
✔ Use Auto Installer instead of manual setup
Saves time and reduces errors.
✔ Keep DNS at Hostinger
Makes troubleshooting much easier.
✔ Enable two-factor authentication
Helps protect your hosting account.
✔ Create business email inside hPanel
More professional than Gmail for client communication.
🏁 Final Thoughts
Hostinger’s hPanel is one of the cleanest, simplest, and most powerful hosting control panels available today. It gives beginners confidence and provides professionals with all the tools needed to manage complex websites.
If you want hosting that includes hPanel, WordPress tools, SSL, email hosting, backups, and more — here’s your exclusive link:
👉 Start With Hostinger + hPanel (Exclusive Deal)
Affiliate disclosure: As an affiliate I may earn a commission if you purchase through the above link, at no extra cost to you.